When you can't pick up your own passport after a U.S. visa interview, you need an authorization letter for passport pickup. This isn't just a simple note; it's a formal, signed document that gives another person the official green light to collect your passport on your behalf. Think of it as the only way to ensure the embassy or collection center will release your document to someone else.
Why You Absolutely Need an Authorization Letter
Let's say your U.S. B1/B2 visa is finally approved. You’ve already dealt with the long wait for an appointment and the nerve-wracking interview. Now, all that's left is getting your passport back. But for many people, from applicants in Bogotá to those in São Paulo, making another trip to the consulate just isn't feasible. This is where a well-written authorization letter saves the day.
This letter is a crucial security step. U.S. Embassies and consulates rely on it to prevent fraud and protect your identity. If your representative shows up without one, they will be turned away—no ifs, ands, or buts.
Common Hurdles That Make a Letter Necessary
Life has a way of getting in the way, and picking up a passport is no exception. For B1/B2 visa applicants, especially those applying from countries like Mexico, Colombia, or Brazil, these situations pop up time and time again:
- Long Distances: You might live in a city that’s hundreds of kilometers from the consulate, especially in a large country like Brazil or Mexico. Another long trip is a huge ask.
- Job Demands: Taking yet another day off work for travel and queuing isn't practical, particularly if you're a busy professional.
- Health Emergencies: A sudden illness or unexpected family matter can make it impossible for you to travel to the collection center.
In any of these scenarios, a properly drafted letter is your ticket to a hassle-free pickup. For situations that require even more formal or legally binding delegation, it's helpful to understand the concepts behind a Power of Attorney (POA), which operates on similar principles of granting authority.
Using authorization letters is a standard practice across the globe to keep personal documents secure. If you don't have one, the collection request is almost always denied, a small detail that affects thousands of applicants every year.
A missing or badly written letter will, without a doubt, cause delays. After you've waited months for an appointment and navigated the entire visa process, another hiccup is the last thing you need. Once your visa is approved, you'll want to check its status to see when it's ready. Following this guide will help you get the letter right the first time, making this final step a smooth one.
The Anatomy of a Flawless Authorization Letter
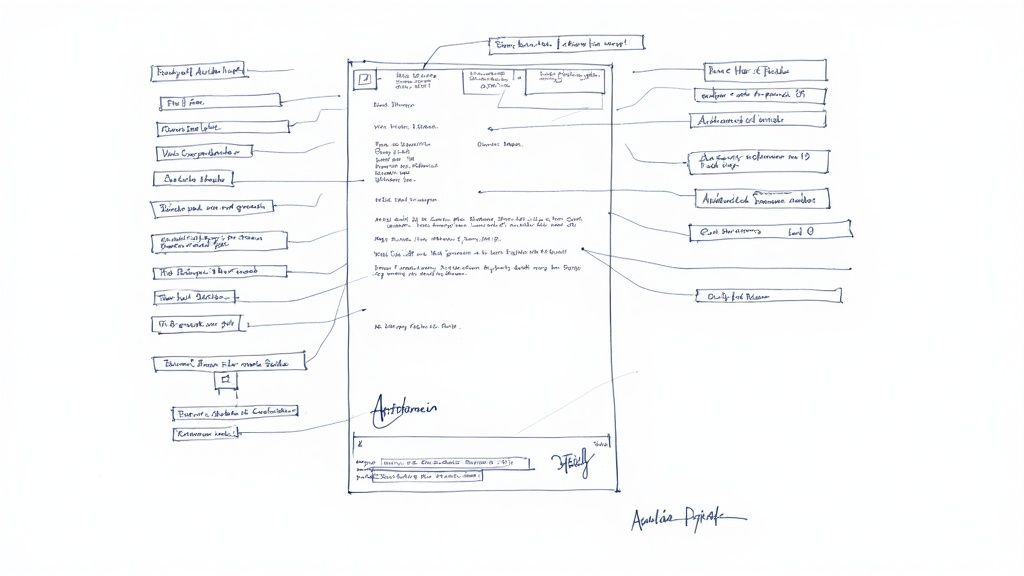
Think of your authorization letter for passport pickup as a secure, legally recognized key. For the consular staff handling your documents, whether in Santiago, Chile, or Nairobi, Kenya, this letter is the official blueprint they follow to verify your request. A single missing detail is like a broken tooth on that key—it simply won't work, and your representative will be turned away.
Every single piece of information serves a critical security purpose. Your full legal name, passport number, and visa application reference are the primary identifiers linking the letter directly to you. Without them, the letter is just an anonymous piece of paper with no authority.
Your Personal Information
When it comes to your details, absolute clarity is non-negotiable. Consular staff need to match the information on your letter against their official records in seconds. Any vague or incomplete data will raise immediate red flags, bringing the entire process to a screeching halt.
To make your letter foolproof, always include these four things:
- Your Full Legal Name: It must be written exactly as it appears on your passport and visa application.
- Your Passport Number: Double- and triple-check this for accuracy. It's a unique identifier for your most important travel document.
- Visa Application Reference Number: This is what connects your letter to your specific B1/B2 visa case file.
- Your Contact Information: A phone number and email address give officials a way to contact you directly if any questions pop up.
The U.S. Department of State has strict standards for authenticity. Your letter should have a clear, straightforward title, like "Letter of Authorization for Passport Pickup," and must contain your handwritten signature in blue or black ink. This signature, along with a recent date, proves the document is current and valid. You can find more official guidance on what embassies look for at passport-photo.online.
Representative and Authorization Details
Just as your information is vital, the details for the person you’re authorizing are equally important. I’ve seen pickups get denied for something as simple as a misspelled name or a typo in an ID number. Remember, this person is legally acting on your behalf, so their identity must be verified without a shadow of a doubt.
Crucial Takeaway: Your authorization statement needs to be direct and unambiguous. A simple, powerful phrase like "I hereby authorize..." leaves no room for misinterpretation. That's exactly what a busy consular employee needs to see to process the request quickly.
For your representative, you must list their full legal name and their government-issued ID number (like a Cédula from Colombia or a Canadian driver's license for third-country nationals). Critically, this ID number must match the original, physical ID they present at the pickup counter. Photocopies won't cut it.
To help you get it right, here’s a quick checklist of the essential information you'll need to gather from both yourself and your representative before you start writing.
Essential Information Checklist for Your Letter
| Information Category | Required Details | Why It's Important |
|---|---|---|
| Applicant (You) | Full Legal Name, Passport Number, Visa Application Number, Phone/Email | Links the letter directly to you and your specific application, preventing fraud. |
| Representative | Full Legal Name, Government-Issued ID Number (e.g., driver's license), Relationship to Applicant | Verifies the identity of the person picking up the passport and establishes their connection to you. |
| Authorization | Clear Statement of Authorization, Specific Task (e.g., "to collect my passport"), Date of Signing, Your Signature | Provides legal standing for the request and confirms the letter's purpose and timeliness. |
Having all these details organized beforehand makes drafting the letter a much smoother process. This level of detail is standard for official U.S. government correspondence, much like what you'd need when preparing an invitation letter for a US visa.
How to Draft Your Letter With Real-World Examples
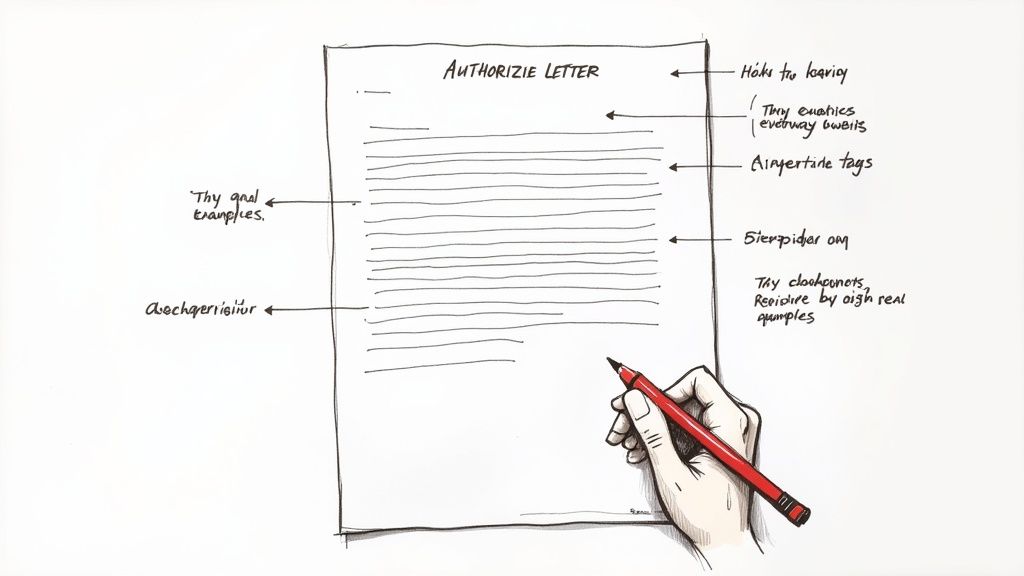
Alright, let's get down to the brass tacks of actually writing this letter. The goal here is clarity and precision, not flowery prose. Think of it as giving a clear, formal instruction to the consulate staff. A clean, professional format is your best friend—it helps them quickly find the information they need to approve your request.
Stick to a standard business letter format. It’s what officials expect and it immediately conveys that you're taking this seriously. Simple things, like using a legible font (Arial, Calibri, or Times new Roman are safe bets) and keeping your paragraphs short, make a world of difference in readability.
If you want a refresher on the basics of formal letter writing, this ultimate guide on how to write a letter is a great resource for general best practices.
A Go-To Template You Can Adapt
This format works time and time again for B1/B2 visa applicants, and it's easy to tweak for your specific needs. Whether you're in Mexico City sending a relative or in Buenos Aires asking a trusted colleague, this structure covers all the bases.
Here’s a simple and effective layout to follow:
- [Your Full Name]
- [Your Address]
- [Your Phone Number]
- [Your Email Address]
- [Date]
- To Whom It May Concern,
- Subject: Authorization to Collect Passport
- I, [Your Full Name], holding passport number [Your Passport Number] and with visa application number [Your Visa Application Number], hereby authorize [Representative's Full Name] to collect my passport on my behalf.
- [Representative's Full Name] is my [Relationship to You, e.g., sister, colleague], and their government-issued ID number is [Representative's ID Number].
- I am unable to collect my passport personally due to [Brief, simple reason, e.g., work commitments, residing in a different city].
- For verification purposes, I have attached photocopies of my government-issued ID and my representative's ID.
- Thank you for your assistance in this matter.
- Sincerely,
- [Your Handwritten Signature]
- [Your Typed Full Name]
Bringing the Template to Life: Two Common Scenarios
Let's look at how this plays out in the real world. A filled-out example is often the best way to see how it all comes together.
Scenario 1: Applicant in Mexico Authorizing a Family Member
"I, Sofia Reyes Garcia, holding passport number G12345678 and with visa application number AA00B1C2D3, hereby authorize Mateo Reyes Garcia to collect my passport on my behalf. Mateo Reyes Garcia is my brother, and his government-issued ID number is REGM900101HMC..."
See how direct that is? It clearly states the relationship and provides all the key numbers right away. This leaves no room for confusion.
Scenario 2: Indian Citizen in Canada Authorizing a Friend
"I, Aarav Patel, holding Indian passport number Z9876543 and with visa application number CA10987654, hereby authorize Priya Sharma to collect my passport on my behalf from the U.S. Consulate in Toronto. Priya Sharma is my friend, and her Ontario Driver's Licence number is SHAR-12345-67890."
A great tip here is to use the specific name of the local ID document, like "Cédula de Ciudadanía" for Colombia or "Ontario Driver's Licence" for third-country nationals in Canada. This small detail shows you’ve done your homework and helps the staff in Bogotá or Toronto process things that much faster. Remember, the easier you make their job, the smoother the process will be for everyone.
Gathering the Essential Supporting Documents
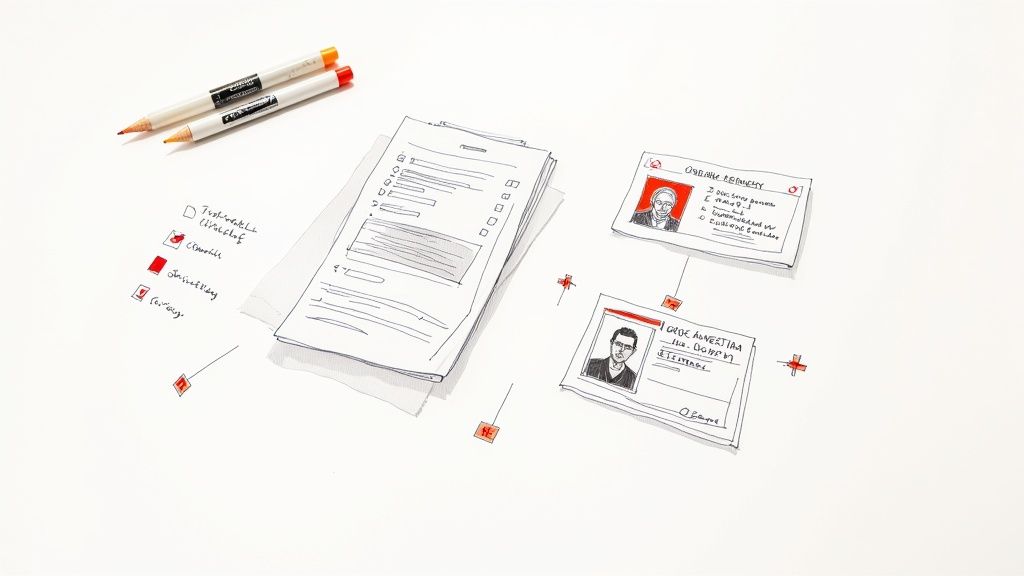
Your signed authorization letter is the heart of the request, but it can’t do the job on its own. To get the green light from consular staff, it needs to be backed up by solid proof of everyone’s identity. Think of the letter as the permission slip and these supporting documents as the official validation that makes it legitimate.
Without this evidence, the letter is just a piece of paper. Officials at any visa center, whether it’s in Kingston, Jamaica, or Lusaka, Zambia, are trained to turn away any pickup attempt that isn’t fully supported by proper ID. This isn't just red tape; it's a crucial security step to keep your passport out of the wrong hands.
Preparing Your Identification Documents
First things first, you'll need to include a clear, readable copy of your own government-issued ID. This is an absolute must. The signature on your authorization letter must be a perfect match to the one on your ID.
Most people find it easiest to just photocopy their passport's bio-data page. It has everything needed for verification—your photo, full name, birthdate, and signature—all in one place. If you're sourcing other documents like birth records, our guide on getting a certified copy of a birth certificate for passport applications can be a big help.
What Your Representative Must Bring
While a photocopy works for you, the rules are much stricter for the person picking up your passport. They must show their original, physical, government-issued photo ID when they get to the counter. Let me be clear: a photocopy of their ID will be rejected on the spot.
This is a point that trips up a lot of people, so it bears repeating. The representative’s name and ID number written in your letter must exactly match the details on their physical ID card.
Pro Tip: Before they head out the door, have your representative double-check that their ID is not expired. An ID that's out of date, even by a day, is almost always grounds for an immediate refusal.
Here are a few examples of IDs that are typically accepted:
- A valid driver's license
- A national passport from their home country
- A national identity card, like the Cédula de Ciudadanía in Colombia
Getting your photocopy and your representative's original ID in order ahead of time is the best way to ensure a smooth, successful pickup without any last-minute drama at the collection center.
Common Mistakes That Can Derail Your Passport Pickup
You’ve written the letter, but don't hit send on that email just yet. Even a beautifully drafted authorization can be completely useless if a small mistake slips through. I've seen it happen time and again—these little slip-ups are surprisingly common but also totally avoidable.
Getting ahead of these errors is the final step to making sure your representative has a smooth, hassle-free experience, whether they're at a consulate in Lima or an embassy in Dar es Salaam.
One of the most frequent deal-breakers is a signature mismatch. The signature on your authorization letter must closely match the one on the photocopy of your government ID. You can bet a consular employee will be comparing them side-by-side. Any glaring difference is an immediate red flag and a likely reason for denial.
Vague Language and Outdated Information
Another classic mistake is using language that's too casual or vague. This isn't the time for informal requests. A line like, "Please give my passport to my friend," just won't cut it.
Your letter needs to be direct and unambiguous. Use explicit phrasing such as, "I hereby authorize [Representative's Full Name] to collect my passport..." This is the kind of language that grants official permission and leaves no room for interpretation.
Final Checkpoint: Before your representative heads out, triple-check every single detail. A misspelled name, one wrong digit in an ID number, or an expired identification document can bring the entire process to a screeching halt at the collection counter.
These rules aren't just bureaucratic red tape; they serve a real purpose. U.S. Embassies worldwide strictly require a signed authorization letter for any adult proxy pickup simply to manage the sheer number of requests efficiently. You can find more on their specific embassy passport delivery protocols to see why getting it right matters so much.
The Ultimate Pre-Pickup Checklist
To help you sidestep these common pitfalls, run through this final review checklist. Think of it as your last line of defense against the small errors that cause big headaches. It’s as essential as a good checklist for traveling abroad.
- Signature Match: Is the signature on the letter a dead ringer for the one on your ID copy?
- ID Validity: Has your representative confirmed their physical ID is current and not expired?
- Name Spelling: Are all names on the letter spelled exactly as they appear on the official IDs? No nicknames!
- Document Check: Does your representative have both the original signed letter and your ID photocopy in hand?
- Clarity: Is the authorization statement direct, clear, and impossible to misunderstand?
By ticking off these points, you're not just sending a letter; you're equipping your representative with everything they need to walk into that collection center with confidence.
Common Questions About Authorization Letters
Even after you've written what seems like the perfect letter, a few questions always pop up. Let's walk through some of the most common ones I hear from B1/B2 visa applicants to make sure you're completely confident when it's time for pickup.
Does the Letter Need to Be Notarized?
This is a big one, but the answer is almost always no. For U.S. visa passport pickups, notarization is typically not a requirement. What really matters is a clearly written letter with your original signature, along with all the correct ID documents for both you and your representative.
That said, it never hurts to be extra careful. I always advise people to take a quick look at the specific instructions on the website for the local embassy or visa application center, whether it's in Bogotá or Mexico City. Local procedures can sometimes have unique quirks.
Can I Just Email the Letter to the Collection Center?
Absolutely not. This is a common mistake that can get your representative turned away at the counter. They must bring the original, physically signed letter with them.
Digital copies just don't cut it. The staff need to compare the "wet ink" signature on the paper to the one on your ID photocopy to verify it's authentic. You've already put so much effort into the visa process, and understanding the cost of a passport is just one piece of the puzzle. Don't let a simple document error trip you up at the very end.
Pro Tip: A misspelled name on the authorization letter is a dealbreaker. If the names of either you or your representative don't perfectly match the government-issued IDs, the pickup will be denied. If you find a mistake, don't try to correct it—the only safe move is to draft and sign a brand-new letter.
How Recent Does the Date on the Letter Need to Be?
There's no official "expiration date," but you should always use a recent one. A letter dated several months in the past could look suspicious to the consular staff and might cause unnecessary questions or delays.
As a best practice, I recommend dating your letter within one week of when you expect the passport to be collected. This shows the authorization is current and was given specifically for this pickup.
After enduring the long waits and complex paperwork of the U.S. visa process, the last thing you want is more delays. Vast Fisa helps you skip the line by automatically finding and booking earlier appointment dates for you. Stop checking manually and get your visa sooner. Learn more at Vast Fisa.
