Let's cut right to the chase. The first number everyone sees is the $185 application fee for most common visitor visas, like the B1/B2. But thinking that's the final price would be a mistake. That $185 is just the entry ticket—the total cost can climb depending on your home country and a few other moving parts.
Your Quick Guide to US Visa Costs
Figuring out the true cost of a US visa can feel a little murky, especially if you're a third-country national, like an Indian citizen living in Canada, or applying from a visa-required country like Mexico or Colombia. It’s not one flat fee, but a series of costs that pop up at different points in your application journey. If you're applying from a country like Brazil, Peru, or South Africa, you’ll quickly find that the final tally is more than just that initial application payment.
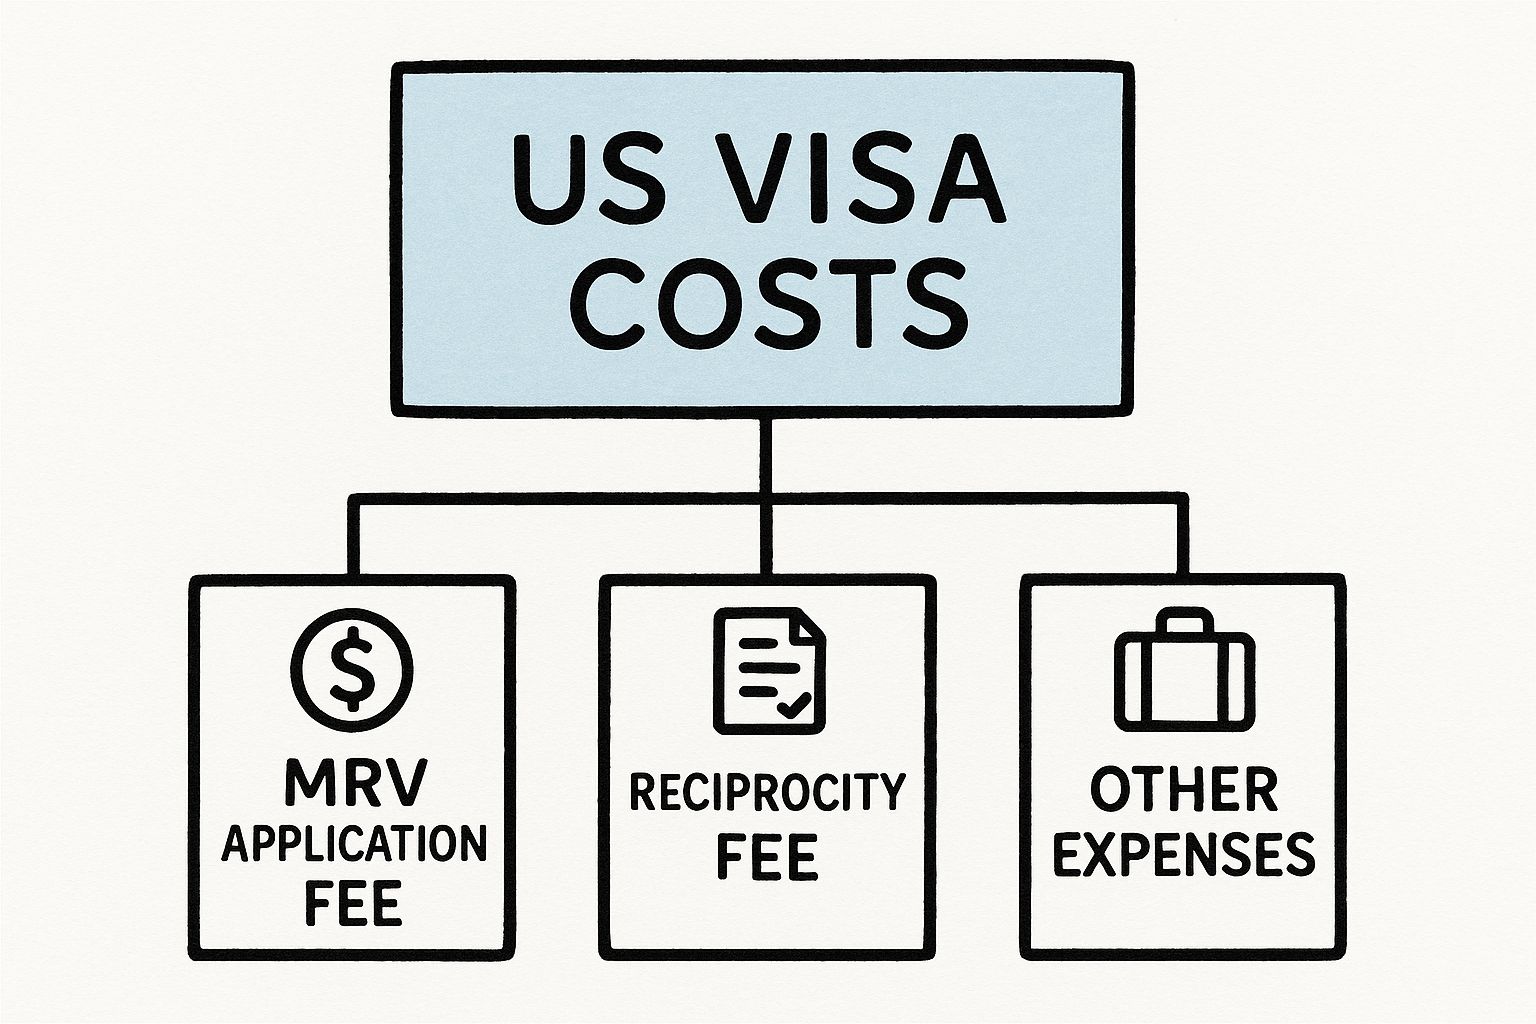
To get a clear picture, it helps to break it down into three main buckets. First, you have the standard application fee that every single applicant pays. Then, there's a possible visa issuance fee that only certain nationalities have to worry about after they're approved. And finally, you have all the other "real-world" expenses that come with just getting your application ready.
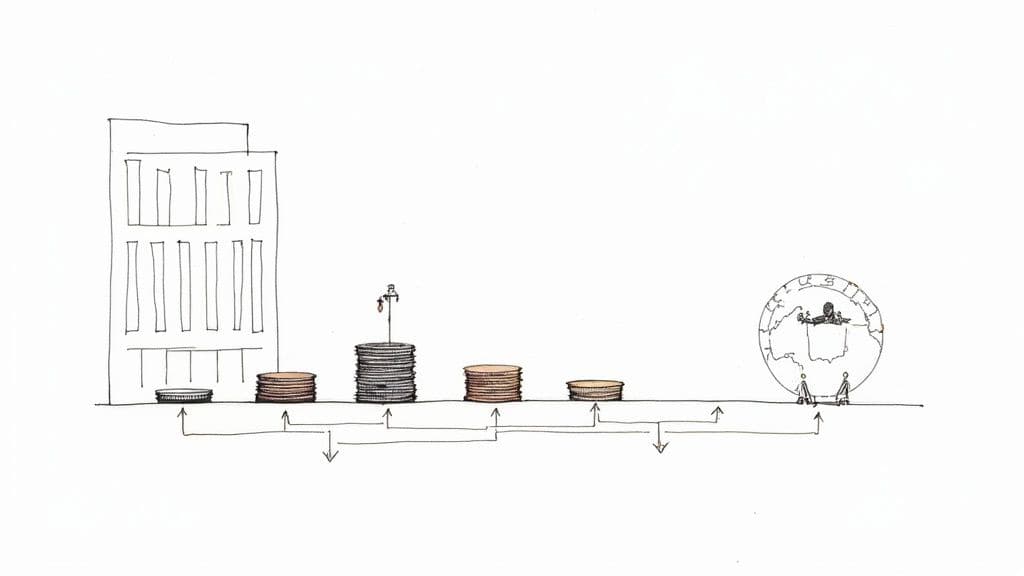
This visual gives you a great snapshot of how these different costs come together.
As you can see, a smart budget looks beyond the official government charges to avoid any last-minute financial stress.
To make this even clearer, here’s a quick summary of the potential costs you'll encounter.
US Visa Cost Components at a Glance
Cost Component | Description | Typical Amount (USD) |
|---|---|---|
Application Fee (MRV Fee) | The mandatory, non-refundable fee paid to start the visa process. | $185 for most visitor visas. |
Visa Issuance Fee (Reciprocity) | A post-approval fee based on your nationality. It's only paid if the visa is issued. | Varies from $0 to over $100. |
Associated Costs | Personal expenses for things like photos, document translation, and travel. | Highly variable, can be $50 - $500+. |
These three components form the foundation of your total visa budget.
Understanding the Fee Structure
The U.S. government doesn't just pick these numbers out of a hat; they periodically adjust them to match the real-world cost of running consular services. For instance, in June 2023, the application fee for visitor visas (B1/B2) jumped from $160 to $185. It was the first major hike in over a decade, done to better cover the operational expenses at embassies around the globe. You can read up on the official fee changes to see how they affect different visa categories.
The total cost for a US visa is a sum of mandatory fees, potential reciprocity charges, and personal expenses. Budgeting for all three is the key to a stress-free application experience.
And don't forget the very first step: your passport. A valid passport is non-negotiable, and getting a new one or renewing an old one has its own price tag. If yours is close to expiring, be sure to roll that expense into your overall budget from the start. We break it all down in our guide to the cost of a passport.
The Mandatory MRV Application Fee Explained
Every journey to get a US visa starts with one universal first step: paying the Machine Readable Visa (MRV) fee. You can think of this as the non-negotiable price of admission for getting your application in the door. It’s the fee that covers the government's administrative work, from processing your DS-160 form to getting you a spot for an interview.
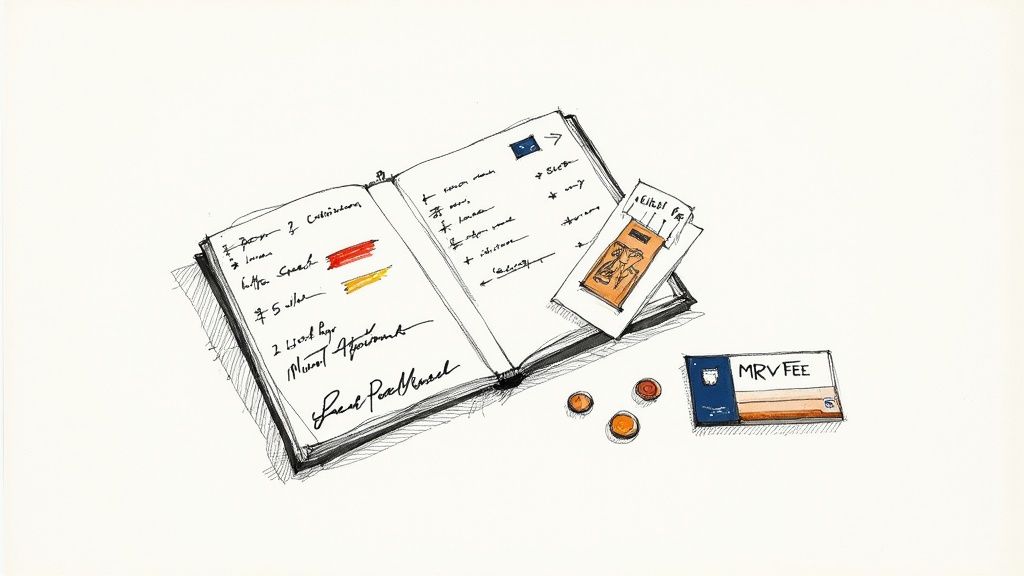
It’s crucial to understand that this fee is purely for processing. It doesn't buy you a visa, and you don’t get it back. Whether your application is ultimately approved or denied, the U.S. government keeps this payment to cover the cost of their services.
Understanding the Core Cost
For the vast majority of people applying for visitor visas—like the B-1 for business or the B-2 for tourism—the current MRV fee is $185. This applies whether you're from Brazil, South Africa, or Colombia, and it's the same for a combined B-1/B-2 application.
Budgeting for this fee is critical because it’s both non-refundable and non-transferable. If your plans change, you won't get the money back. You also can't pass your payment receipt to a friend or family member for them to use. It's tied directly to your application.
The MRV fee is valid for one year from the date of payment. You must schedule your visa interview within this 365-day window, or you will have to pay the fee all over again to proceed.
Once that fee is paid, you unlock the ability to book your interview. This is often where the real waiting game begins. Navigating this stage takes careful planning, which we break down in our complete guide to US visa appointment booking.
How to Pay Your MRV Fee
Now, how you actually pay isn't a one-size-fits-all process. It changes quite a bit depending on the country you’re applying from. Always follow the specific instructions provided on the official U.S. embassy or consulate website for your location.
Some of the most common payment methods you'll encounter include:
Online Bank Transfer: A straightforward payment from your bank account, usually done through the official application portal.
Cash Deposit at a Designated Bank: In many countries, like Mexico, you'll need to print a U.S. government deposit slip and take it to a specific partner bank (like Scotiabank or Banamex) to pay in cash.
Debit/Credit Card: Some consulates have modernized their systems to accept online payments with major credit or debit cards.
Pay close attention to the required currency. While the fee is always set in U.S. dollars, you will almost always pay it in your local currency. The exchange rate isn't the one you see on Google; it's a specific consular rate set by the U.S. Department of State.
After you've paid, guard that receipt! You'll need the confirmation number from it to schedule your interview.
Navigating Post-Approval Reciprocity Fees
Just when you think you’ve paid all the necessary fees, a surprise cost can pop up right after your visa interview. It’s called the reciprocity fee, and it catches a lot of people off guard because it’s not part of the main application payment.
This is a conditional fee. You only pay it after a consular officer has approved your visa.
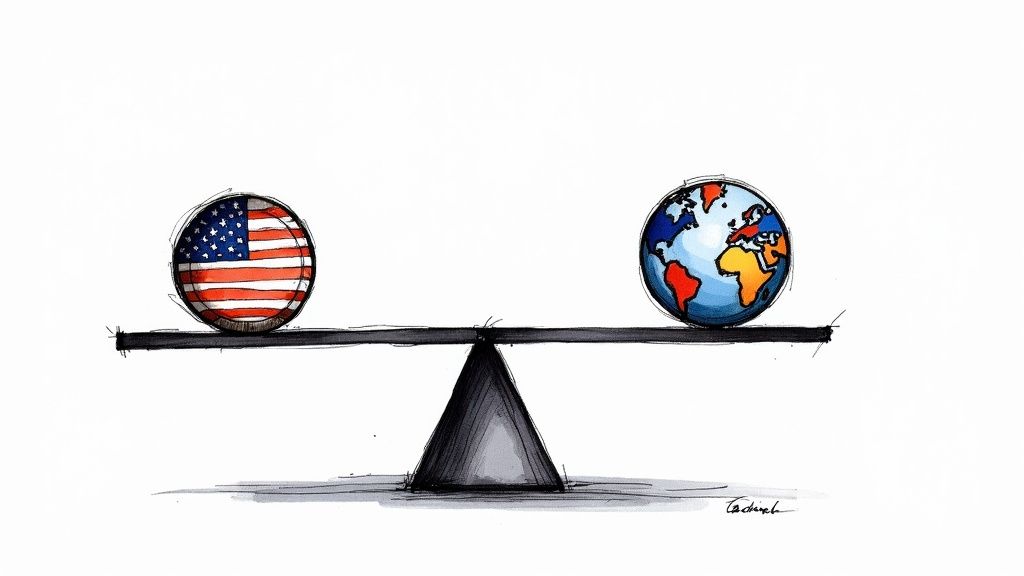
The simplest way to think about it is a "you charge us, we charge you" policy. The U.S. government bases this fee on what your home country charges American citizens for a similar type of visa. If your country offers a fee-free visitor visa to Americans, you probably won't have to pay a reciprocity fee.
Because of this principle, the final cost for a US visa can be wildly different for two people applying for the exact same visa, just based on their passports.
How Reciprocity Fees Work
The amount you might owe is tied directly to your nationality and the specifics of the visa, like how long it’s valid for. For instance, if Country X charges U.S. citizens $100 for a five-year tourist visa, the U.S. will likely charge citizens of Country X the same amount for a B1/B2 visa with the same duration.
This creates a huge range in what people pay:
Applicants from many countries, like South Africa, the United Kingdom, Brazil or Mexico, often pay $0 in reciprocity fees for a B1/B2 visa.
In contrast, citizens from other nations, such as Chile or Nigeria, could be looking at fees well over $100.
This fee is sometimes called the visa issuance fee. You'll only be asked to pay it at the embassy or consulate after your interview, once the officer tells you your visa is approved.
It's a really important cost to factor into your budget. For more on what business travelers need, take a look at our guide on business visa requirements for the US.
Sample Reciprocity Fees for B1/B2 Visas (Illustrative)
To give you a real-world picture of how much these fees can vary, here’s a quick comparison. Remember, these amounts can change, so always check the official schedule.
Country | Reciprocity Fee (USD) | Visa Validity Period |
|---|---|---|
Mexico | $0 | Up to 10 years |
Brazil | $0 | Up to 10 years |
Colombia | $0 | Up to 10 years |
Chile | $100 | Up to 5 years |
Argentina | $100 | Up to 10 years |
As you can see, the difference between paying nothing and paying $100 is significant, which is why checking ahead of time is so critical.
Checking the Reciprocity Schedule for Your Country
The good news is you don't have to guess. The U.S. Department of State provides a public and regularly updated Visa Reciprocity Schedule. This is your go-to source for the most accurate information.
It’s easy to use—just find your country on the list. The tool will display a clear table showing different visa types and any associated issuance fees. For a B1/B2 visa, it will tell you the exact fee, the maximum validity, and the number of entries permitted.
Make a habit of checking this schedule before your interview. Knowing this potential final cost for a US visa means you can walk in prepared with the right payment method and amount, avoiding any last-minute stress or delays in getting your passport back with your new visa.
Budgeting for Costs Beyond the Official Fees
The official government fees are just the starting point when you're figuring out the total cost of a US visa. The number you actually end up spending will almost always include a handful of other personal, but necessary, expenses.
Think of it like buying a concert ticket. The ticket price gets you in the door, but you still have to account for getting to the venue, parking, and maybe grabbing a bite to eat. The visa process works the same way.
These "hidden" costs can swing wildly depending on your specific situation. But if you don't plan for them, you could find yourself in a last-minute financial pinch that throws your whole application off track. A good budget sees these costs coming from a mile away.
Common Associated Costs to Plan For
For many applicants, especially in large countries like Brazil, Mexico, or Colombia, just getting to a U.S. consulate can be a serious journey. It's not uncommon for people to live hundreds of miles from the nearest consular office, which turns the interview into an overnight or even multi-day trip.
To build a budget that won't surprise you, be sure to factor in these common expenses:
Travel to the Embassy or Consulate: This is often the biggest extra cost. You’ll need to account for plane tickets, bus fare, or gas money. If you have an early morning appointment, you’ll probably need to book a hotel for at least one night, too.
Passport-Style Photos: The U.S. government is notoriously strict about visa photos—the size, background color, and even how old the picture is all matter. Using a professional photo service costs a bit, but it guarantees your pictures won't get rejected.
Document Collection and Translation: You'll be gathering plenty of supporting documents like bank statements, proof of employment, or property records. If any of these aren't in English, you'll need to pay for a certified translation.
Courier and Delivery Services: Once your visa is approved (congratulations!), your passport with the new visa inside is usually sent back to you through a specific courier service. Sometimes this is wrapped into the application fee, but in many places, it’s another small fee you'll have to pay.
Key Takeaway: Planning for these extra costs is just as critical as saving for the main application fee. A well-prepared budget is a stress-free budget.
Optional Services and Financial Documents
On top of the essentials, you might run into optional services or need to prepare extra financial paperwork. Some people, for instance, hire an agent or consultant to help them with the paperwork, which comes with its own price tag.
For a B-2 tourist visa, proving you have the funds to support your trip is non-negotiable. This might mean getting an affidavit of support from a sponsor in the U.S. It's important to understand what that entails, which you can read about in our detailed guide on the affidavit of support for a tourist visa.
By mapping out every single potential cost—from your bus ticket to document translation—you create a complete financial picture and can walk into your visa application feeling prepared and confident.
A Look at Other US Visa Costs
We've been zeroing in on the B-1/B-2 visitor visa, but it helps to zoom out and see the bigger picture of US visa costs. Think of it like looking at car prices—you have the straightforward cost of a sedan, but then you have the higher prices for SUVs and luxury sports cars. Each one serves a different purpose and has a price tag to match.
The same logic applies to US visas. The cost changes dramatically based on the visa's purpose and the complexity of the paperwork involved.
Why Some Visas Are More Expensive
Student visas (F, M) have their own fee structure, while temporary worker visas (like the H, L, and O categories) are pricier. Why the big difference? It often comes down to one thing: a petition.
For most work-related visas, a U.S. employer has to get involved first. They must file a petition on the applicant's behalf with U.S. Citizenship and Immigration Services (USCIS) and pay a hefty filing fee. Only after that petition gets the green light can the future employee apply for their visa at a consulate and pay the separate visa application fee.
This two-step process means the total cost is much higher than for a simple visitor visa. The employer usually foots the bill for the petition, which can easily run into thousands of dollars, making it a serious investment for any company.
The High Cost of Immigrant Visas
Immigrant visas—the ones for people planning to live permanently in the United States—are in a league of their own. They represent the most complex and expensive category, with a multi-stage process that can add up to well over a thousand dollars per person.
The total cost for a U.S. immigrant visa includes petition fees, processing fees, and other associated costs, making it one of the most significant financial investments in the U.S. immigration system.
The fees are tiered based on the type of application. For instance, the processing fee is $325 for family-based applications and $345 for employment-based ones. And that’s before you even factor in the initial petition fee, which can be $675 for a relative. You can always explore the detailed government fee schedule to see the full breakdown.
Understanding this context is useful, even if you’re just applying for a tourist visa today. You never know what the future holds, and knowing the lay of the land is always smart. No matter the visa type, having your documents in order is non-negotiable, which is why a solid B-2 visa documents checklist is so critical.
Common Questions About US Visa Costs
When you're trying to figure out the financial side of a US visa, a lot of "what if" questions pop up. It's not just about knowing the fees; it's about understanding the rules that go with them. Let's tackle some of the most common questions to give you clear answers and help you handle your payments confidently.
What Happens if My Visa Is Denied?
This is probably the biggest concern for most applicants: what if I pay the fee and my visa gets rejected?
The answer is straightforward: the $185 MRV application fee is non-refundable. Think of it as paying for a service—in this case, the service of having your application processed. The U.S. government uses that fee to cover the administrative work of reviewing your DS-160 form and conducting your interview.
Whether you get a stamp in your passport or a denial letter, the work has been done. That's why the government keeps the fee. It's a key part of your budget to remember, as it's a fixed cost you take on regardless of the outcome.
Can I Reuse or Transfer a Fee Payment?
Life is unpredictable, and sometimes your plans have to shift. So, what happens to the fee you paid? Can you save it for later or let someone else use it?
Here’s the breakdown:
It Has an Expiration Date: Your MRV fee payment is good for one year from the day you pay it. You have to schedule an interview at the embassy or consulate within that 365-day window. If you miss it, the fee expires, and you'll have to pay all over again.
It's Tied to You: The fee is linked directly to your name and passport. It cannot be transferred to another person, not even a family member or friend. Every applicant needs their own separate fee payment.
Your fee receipt is basically your ticket to schedule an interview. Once that one-year window closes, the ticket is no longer valid, and you have to buy a new one.
How to Avoid Payment Scams
Unfortunately, where there's a complex process, there are often scammers trying to profit from confusion. Knowing how to pay securely is your best line of defense.
Always, and I mean always, make your payment through the official channels listed on the U.S. embassy or consulate website for your country. They will direct you to their approved online portal or specific, authorized banks. Be incredibly skeptical of any third-party agent or "fixer" who asks for cash or tells you to wire money to a personal bank account. Those are giant red flags.
While the B1/B2 visa fees are standard, it's important to know that costs for other visa types can change dramatically based on policy. For instance, a recent U.S. policy change introduced a massive $100,000 fee for certain H-1B skilled worker visa applications. A change like that can have huge effects on U.S. research institutions and tech companies. You can read about the significant consequences of this policy change on Nature.com.
By sticking to official sources and questioning anything that seems unofficial, you can make sure your money gets to the right place and protect yourself from fraud.
Are long visa appointment wait times putting your travel plans on hold? Vast Fisa continuously scans for earlier openings at U.S. consulates and can automatically reschedule your appointment for you, saving you months of waiting. Stop waiting and start planning with Vast Fisa today.