Trying to land a B1/B2 visa appointment can feel like an uphill battle, especially when you see the jaw-dropping wait times in visa-required countries. This guide is designed for applicants from countries like Mexico, Costa Rica, Dominican Republic, Honduras, Canada, United Kingdom and many others, as well as third-country nationals, to cut through the noise and give you a straightforward, practical plan. We'll go through everything, step-by-step, from nailing the crucial DS-160 form to actually scheduling your interview on the official U.S. consulate portal.
Your Roadmap To A US Visitor Visa Appointment
Getting a U.S. visitor visa isn't something you can rush. It's a process with clear stages, and each one has its own set of rules and potential traps. If you're applying from a high-demand city like Bogotá, São Paulo, or as a third-country national in a busy post, knowing this path inside and out is the key to planning well and avoiding a lot of headaches.
The system is built to handle an incredible number of people. Just to give you an idea, in fiscal year 2023, the U.S. Department of State processed a massive 12,919,448 nonimmigrant visa applications. They ended up issuing over 10.4 million visas, which is an impressive global approval rate of over 80%. But that sheer volume is exactly why the lines are so long in many locations.
Key Milestones In The Application Journey
Before you even dream of picking a date for your interview, there's some essential groundwork to cover. Each step is a building block for the next, and a mistake early on can set you back significantly. The whole point is to make sure the consulate has all your information ready to go before you walk through their doors.
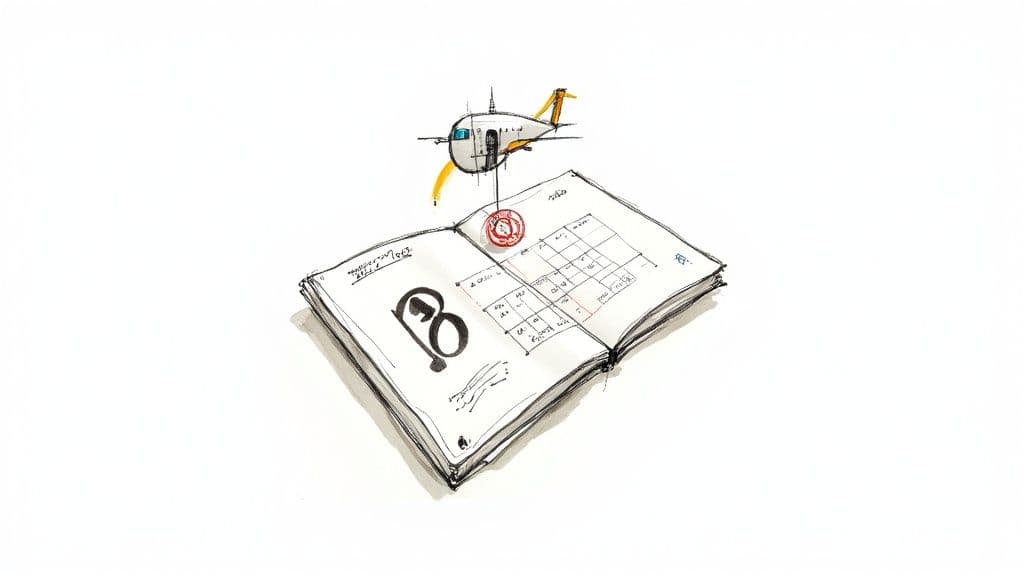
This visual gives you a great overview of the main sequence of events.
As you can see, you can't even get to the scheduling calendar without first completing your DS-160 application and paying the fee. That payment receipt number is your golden ticket to the appointment booking system.
To help you visualize the entire process from start to finish, here’s a breakdown of the core stages you'll navigate.
B1 B2 Visa Application Key Stages
| Stage | Primary Task | Key Outcome |
|---|---|---|
| Preparation | Gather all required personal, travel, and financial documents. | All necessary information is ready for the DS-160 form. |
| Form DS-160 | Complete the online nonimmigrant visa application accurately. | A unique confirmation page with a barcode is generated. |
| Fee Payment | Pay the non-refundable MRV fee through the official portal. | A valid payment receipt is generated, enabling access to scheduling. |
| Appointment Booking | Log into the consulate portal and schedule your interview date. | You have a confirmed appointment for your visa interview. |
| Interview | Attend the interview at the U.S. embassy or consulate. | A consular officer makes a final decision on your application. |
This table provides a high-level view, but remember that the real work is in the details of each task.
Setting Realistic Expectations
One of the biggest sources of stress for applicants is the gap between when they want to travel and the first available appointment date. Those long wait times aren't random—they're a direct reflection of the consulate's capacity versus the number of people applying.
Here's the single most important thing to remember: The visa appointment process is a marathon, not a sprint. Taking your time to prepare properly is far more effective than rushing and hoping for a miracle.
Several things affect the wait times:
Local Demand: Countries with deep family or business connections to the U.S., like many in Latin America and other visa-required nations, will always have more applicants.
Consular Staffing: The number of officers available to conduct interviews sets a hard limit on how many appointments can be scheduled each day.
Seasonal Peaks: Expect wait times to climb before major holidays or during summer vacation months when everyone is trying to travel.
Knowing this helps you plan smarter. For a deeper dive, you can check out our complete guide on the U.S. visa appointment booking process for more strategies. By approaching this with a clear plan and a dose of reality, you put yourself in a much stronger position for success.
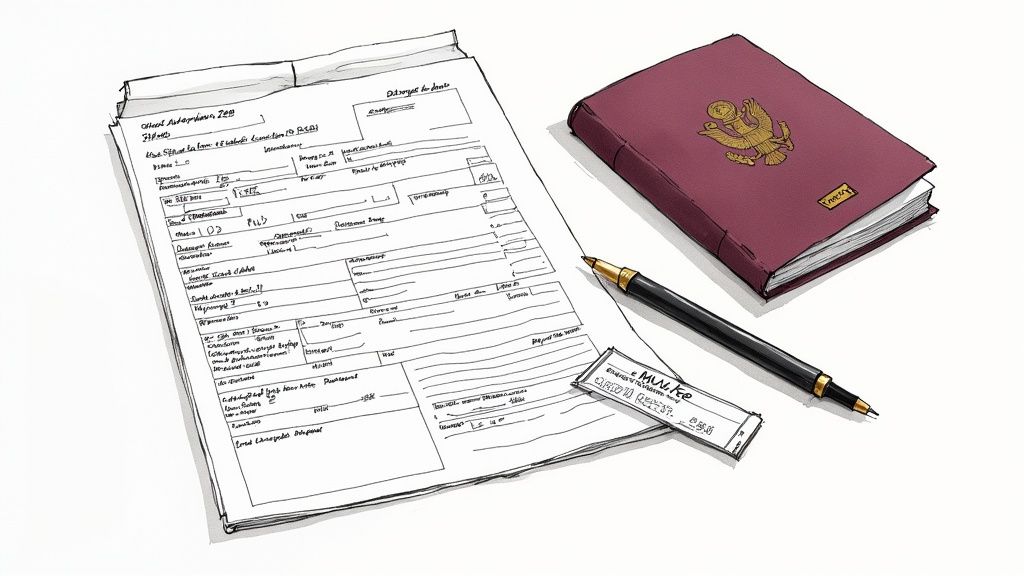
Getting the DS-160 Form and Fee Payment Right
Before you can even dream of booking a B1/B2 visa appointment, there are two non-negotiable steps you have to get right: submitting the DS-160 form and paying the Machine Readable Visa (MRV) fee. These aren’t just boxes to tick; they are the very foundation of your application. A mistake on either one can cause serious delays or, even worse, force you to start the entire process from scratch.
Think of your DS-160 as the complete story you're telling the U.S. government. Every single detail, from your past travels to your current job, is scrutinized. It's the first thing the consular officer looks at, so making sure it's accurate and consistent is everything.
Nailing the Details on Your DS-160 Form
The DS-160 is a pretty exhaustive online form where you'll input your biographical information and the specifics of your planned trip to the U.S. This isn't just data entry. It requires you to think carefully, especially about the questions that demonstrate your strong ties to your home country.
For example, when you get to your work history, don't be vague. You need to provide clear, complete information for at least the last five years. An entry like "Consultant" with no employer or specific dates is a classic red flag. The same goes for your travel history—if you’ve been to other countries, double-check that the dates you enter match the stamps in your passport perfectly.
A critical tip I can't stress enough: Save your application constantly. The system is notorious for timing out, and there's nothing more frustrating than losing 30 minutes of work. Make sure you write down your Application ID and the answer to your security question immediately. You'll absolutely need them to get back into your form.
Avoiding Common DS-160 Pitfalls
I've seen so many applicants get tripped up by small details that end up causing huge problems. To keep your application on the right track, steer clear of these common mistakes:
Mismatched Information: Every detail on your DS-160 must perfectly align with your supporting documents. If you say the purpose of your trip is tourism, your interview answers and any supporting letters better reflect that.
Skipping Questions: Don't leave fields blank unless they are explicitly marked "Optional." It’s always better to enter "Does Not Apply" than to leave an empty box, which just looks like you overlooked the question.
Weak "Ties to Home Country" Section: This is your chance to prove you have every intention of returning home. Get specific. Talk about your stable job, your family commitments, any property you own, and even your involvement in local community groups.
Once you hit that submit button, your form is locked. You can't go back and edit it. If you find a major error after submitting, your only option is to fill out a whole new DS-160. Then you have to remember to log into the appointment portal and update your profile with the new confirmation number before your interview day. It's a hassle you want to avoid.
Paying the MRV Fee Correctly
With your DS-160 confirmation page saved, it's time to pay the non-refundable MRV fee. This fee covers the administrative cost of your application, and you can't even look at the appointment calendar until it's paid.
How you pay can differ quite a bit depending on where you're applying from. For instance, applicants in Mexico or Colombia usually have to generate a payment slip and take it to a specific bank. But if you're applying from the United Kingdom or Canada as a third-country national, you'll likely pay online with a credit card. Always, always follow the exact instructions on the official visa services website for your specific country.
After your payment goes through—which can take a couple of hours or sometimes up to two business days—you'll get a receipt number. This number is the golden ticket that unlocks the appointment booking system. It's important to understand the full picture of what you'll be paying; for a complete breakdown, check out our guide on the full cost for a U.S. visa application.
Treat that receipt number like gold. It’s tied directly to your profile and you'll need it to book, check, or change your B1/B2 visa appointment. Getting these two steps done perfectly makes the next—and often most challenging—part of the process much, much smoother: actually finding an open interview slot.
Alright, you’ve got your DS-160 confirmation and your fee receipt. Now for the hard part: wrestling with the official appointment booking portal to actually schedule your B1/B2 visa interview.
This is, without a doubt, where most applicants get stuck. Sometimes for months.
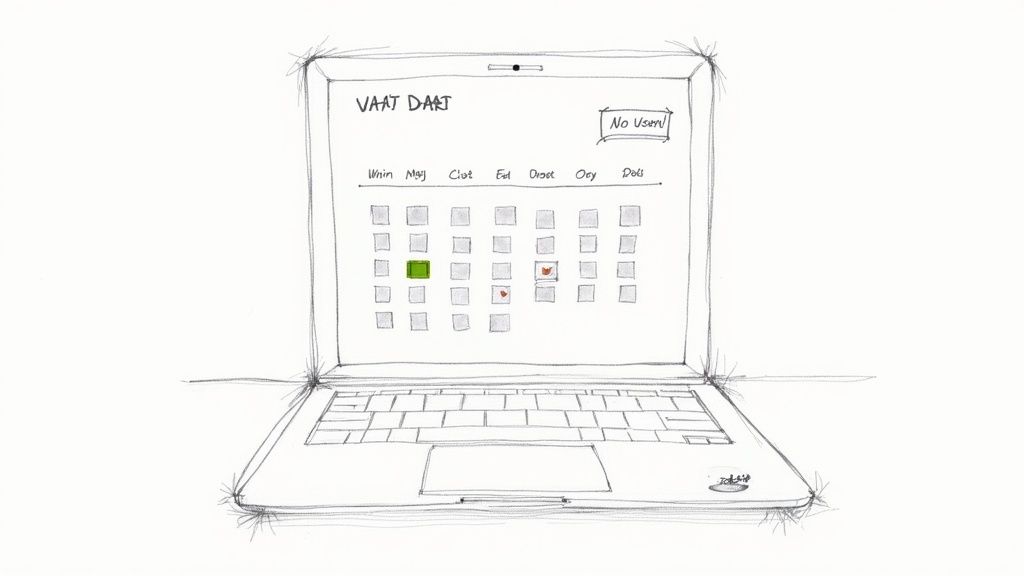
Cracking the Appointment Calendar
You’ve done everything right, but you finally land on the calendar page only to be met with that soul-crushing message: "No Appointments Available."
Let me be clear: this isn't a glitch. It’s the reality of overwhelming demand slamming into a very limited supply of interview slots.
To get ahead, you have to understand what's happening behind the scenes. Consulates in high-demand countries like Mexico, Costa Rica, Dominican Republic, Honduras, Canada, United Kingdom and many others are running at full tilt. They only have so many consular officers to conduct interviews each day. Once the schedule is booked solid for months—or even years—the portal simply shows nothing until new appointment blocks are released.
Here’s the biggest mistake I see people make: they assume the calendar is static. It’s not. Appointment availability is incredibly fluid. Slots pop up all the time from cancellations, reschedules, and when the consulate decides to open up a new block of dates.
So, Why Are the Wait Times So Long?
These crazy wait times for a B1/B2 visa appointment are a global headache, but some regions are hit much harder than others. The difference is staggering, and it all comes down to a mix of massive application volumes, post-pandemic backlogs, and how many staff members are on hand at each consulate.
The numbers don't lie. In some locations, wait times can stretch for months or even over a year. Meanwhile, you could walk into a consulate in a lower-demand country with an average wait of less than a month. You can always check the latest official data on the U.S. Department of State's website.
This data is precisely why manually refreshing the page can feel like a full-time job. If you're in Bogotá or São Paulo, the first available slot might be a year or more away. That makes planning any kind of timely trip feel completely impossible without a better strategy.
How to Craft a Smarter Search Strategy
Just logging in once a day and hoping for the best isn't going to cut it. You need to be more persistent and strategic. Based on what I've seen work for countless applicants, here are a few tips:
Check at Odd Hours: Try logging in late at night or super early in the morning in your local time. Fewer people are online, so you have less competition for any slots that pop up.
Beware of Portal Lockouts: The booking portal is designed to block bots. If you refresh the page frantically or log in and out too many times, the system will temporarily lock your account—often for up to 72 hours. Be persistent, not spammy.
Look for Release Patterns: While there's no magic formula, consulates sometimes release new batches of appointments at certain times, like the beginning of a new month. Paying attention to these potential patterns can give you a slight edge.
The manual process is a grind, and it's easy to get frustrated. That's why so many people start looking for other ways to get ahead. To go deeper on this, check out our guide on how to approach visa slot booking with a more strategic mindset. When you understand the system's limitations, you can stop waiting passively and start actively hunting for the appointment you need.
How to Find an Earlier Visa Appointment Date
You've done everything right. You filled out the DS-160, paid the fee, and finally accessed the appointment calendar, only to find the next available date is a year from now. If you're applying from places like Mexico, Colombia, or as a third-country national in a popular location, this is a painfully common scenario.
But that far-off date isn't set in stone. You don't just have to wait.
The appointment calendar is surprisingly fluid. New slots are released by the consulate, and people cancel or reschedule their interviews every single day. This creates unexpected openings. The catch? These earlier dates are usually grabbed within seconds by other applicants who are just as desperate as you are. The trick is to be the first one to see them.
The Manual Search Method
The most straightforward way to hunt for an earlier slot is to do it yourself. It’s a grind, no doubt, but with some strategy and a lot of patience, you can get lucky.
There’s no "magic" time to check the official booking portal, but I’ve seen many people have more success during off-peak hours. Think very late at night or super early in the morning in your local time zone. Fewer people are online, so you have slightly less competition when a cancellation pops up.
A word of caution, though: don't get trigger-happy with the refresh button. The portal has security measures to block bots, and if you refresh or log in too many times, it can lock you out of your account. A temporary ban can last for up to 72 hours, which completely defeats the purpose and adds even more stress to the process.
The Power of Automated Monitoring
Let's be honest, manually checking the portal is tedious and inefficient. The odds of you happening to be online at the exact moment a slot opens are slim. This is where automated monitoring tools really shine.
Services like Vast Fisa are built to do the heavy lifting for you. Instead of you logging in and out all day, these tools monitor the consulate's calendar 24/7. The moment an earlier appointment that matches your criteria becomes available, you get an instant notification.
This gives you a huge advantage:
Speed: An automated system can detect and alert you to an open slot far faster than you could ever find it manually.
Efficiency: You can just set your preferred date range and let the tool do the searching. No more mindless refreshing.
Consistency: The monitoring never stops. You won't miss an opportunity that appears at 3 PM or 3 AM.
Using a tool like this changes the game from one of passive waiting and luck to a proactive, strategic hunt. It significantly increases your chances of snagging a much earlier interview.
Why a Proactive Strategy is Essential
Consular operations can be unpredictable. Appointment availability can change in an instant due to internal staffing changes, new policies, or even global events.
For example, a few years back, a temporary suspension of certain visa interviews caused chaos. While it didn't directly target B1/B2 applicants, it created a massive backlog that diverted consular resources, making wait times even longer for everyone. Events like this show that availability is about more than just local demand—it's tied to systemic capacity and high-level decisions.
In such an unpredictable environment, just waiting for your date is a losing strategy. The applicants who successfully find earlier appointments are the ones using every tool at their disposal to get ahead.
If you have a truly urgent need to travel that you can prove—like for emergency medical care or a critical business meeting—you might be able to request an expedited appointment. However, the requirements are incredibly strict. For most people, smart, persistent monitoring is the most effective path forward. To see if you might qualify for an exception, check out our guide on how to successfully expedite your US visa appointment.
Preparing Your Documents for the B1/B2 Visa Interview
Okay, your B1/B2 visa appointment is finally on the calendar. That’s a huge step. Now, the real work begins: preparing for the interview itself. A successful interview day is all about preparation, and that means walking into that consulate with a perfectly organized file of documents. Your paperwork is your story—it explains your trip and, most importantly, proves you have every reason to return home.
Think of your documents in two piles: the absolute must-haves and the "proof" that backs up your claims. The consular officer might only glance at one or two things, but having everything on hand shows you're a serious, credible applicant. It's about being over-prepared so you can be confident.
To make sense of what you need, it's helpful to categorize the paperwork. Some documents are non-negotiable entry tickets to the interview, while others are the evidence that will convince the officer to approve your visa.
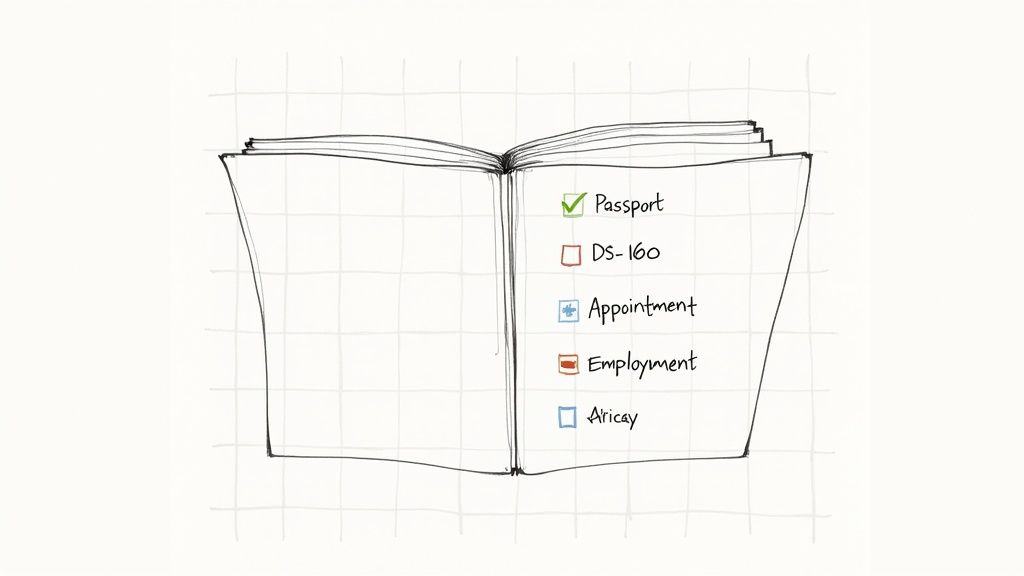
Here’s a look at the two main categories of documents you'll need for your interview.
Essential vs. Supporting Documents for Your Interview
| Document Type | Examples | Purpose |
|---|---|---|
| Essential (Must-Have) | Current Passport, DS-160 Confirmation Page, Appointment Letter, Fee Payment Receipt | These are your "tickets" to the interview. Without them, you won't get past the first checkpoint. |
| Supporting (Highly Recommended) | Employment Letter, Bank Statements, Property Deeds, Itinerary, Invitation Letters | This is the evidence that proves your ties to home, your financial stability, and the legitimacy of your trip. |
Having both sets of documents neatly organized in a folder allows you to answer the officer's questions with confidence, pulling out the exact proof needed in seconds.
The Absolute Must-Haves
Let's start with the non-negotiables. You simply won't be allowed to proceed with your interview without these. Keep them in a separate, easily accessible sleeve in your folder so you can present them quickly.
Your Current Passport: It must be valid for at least six months beyond the date you plan to leave the U.S. No exceptions.
DS-160 Confirmation Page: This is the sheet with the big barcode that you printed after submitting your online application.
Appointment Confirmation Letter: The email or printout you received confirming the date and time of your B1/B2 visa appointment.
Visa Fee (MRV) Payment Receipt: Your proof that you've paid the non-refundable application fee.
Building Your Case with Supporting Documents
This is where you go beyond just checking boxes. Your supporting documents provide the evidence to back up everything you stated on your DS-160 form. The goal is to paint a crystal-clear picture of who you are, why you're traveling, and—most critically—why you will definitely return home.
The strongest applications are those that convincingly demonstrate significant ties—professional, financial, and social—to your country of residence. Your supporting documents are the proof.
The exact documents you need will depend on your unique situation. A student will bring different proof than a business owner. For a full rundown, our detailed B-2 visa documents checklist has more specific examples tailored to different scenarios.
Showing Strong Ties to Your Home Country
This is the most important part of your application. The consular officer's primary job is to screen for potential immigrants. You need to convince them you have compelling reasons to leave the U.S. after your visit.
Proof of Employment: Get an official letter from your employer on company letterhead. It should state your job title, salary, how long you've worked there, and confirm your vacation time is approved. A few recent pay stubs are great to have, too.
Property Ownership: If you own a home or land, bring the deeds or titles. This is a powerful anchor to your home country.
Family Connections: Marriage certificates, birth certificates for your kids, and anything else showing deep family roots at home are crucial.
Student Status: If you're a student, bring your student ID and an official letter from your university confirming you're currently enrolled and in good standing.
Proving Your Purpose of Travel
The evidence you bring must match the reason you've given for visiting the United States. Any inconsistency here is a huge red flag for the officer.
For Tourism (B2): Have a simple, day-by-day itinerary. Include hotel reservations, round-trip flight bookings (just the booking confirmation, don't buy the tickets yet!), and a list of cities or attractions you plan to see.
For Business (B1): You’ll need a formal invitation letter from the U.S. company you're visiting. It should clearly explain the reason for your visit (e.g., contract negotiations, training), how long you'll be there, and who is paying for the trip.
For Visiting Family: Ask your relatives in the U.S. to write you a letter of invitation. Include a copy of their U.S. passport, Green Card, or visa status, plus proof they can support you during your stay if they are sponsoring you.
For Medical Treatment: This requires specific documentation. Bring a letter from your doctor at home explaining your condition and a letter from the U.S. hospital or doctor confirming they’ve agreed to treat you, along with the estimated costs of care.
Demonstrating Financial Stability
You need to prove you can cover the entire cost of your trip without working illegally in the U.S.
Bank Statements: Bring official statements for the last six months. The officer is looking for a stable balance and consistent income, not a large, sudden deposit right before the interview.
Income Proof: Salary slips, your employment letter, or recent tax returns all work well.
Sponsorship Documents: If someone else is paying for your trip (like a parent or spouse), they need to provide an Affidavit of Support (Form I-134) along with their own bank statements and proof of income.
Get a clear file folder and organize all these documents with dividers. When the officer asks for something, you want to find it in seconds. Being prepared and confident sets a positive tone for your entire B1/B2 visa appointment.
Common Questions About B1/B2 Visa Appointments
Even with the best plan, navigating the B1/B2 visa process can feel like a maze. It’s completely normal to have questions, especially when you’re up against confusing rules and incredibly long wait times. Let’s tackle some of the most common hurdles applicants run into.
What Should I Do if the Visa Portal Shows No Available Dates?
It’s a sinking feeling, isn’t it? You log in, full of hope, only to be met with "No Appointments Available." This is an incredibly common—and frustrating—sight, particularly for high-volume consulates in places like Bogotá, São Paulo, or Mexico City.
But don't panic. This message doesn't mean you'll never get a date. It just means the current batch of appointments is gone.
Consulates release new slots in unpredictable waves, and people cancel their appointments every single day, creating unexpected openings. The name of the game is persistence. Some applicants get lucky by checking the portal at odd hours, like late at night or super early in the morning. If you have a true, documented emergency, you might qualify for an expedited appointment, but be warned: the bar for approval is extremely high.
A much better strategy is to use an automated monitoring service. It takes the exhausting guesswork out of the equation by scanning the calendar 24/7 for you. The moment a slot opens up, you get an alert, giving you a massive head start.
Can I Book a B1/B2 Visa Appointment in Another Country?
Yes, you can, and it's a strategy many people use. Applying as a "third-country national" (TCN) is often an option. For instance, an Indian citizen residing in Canada could apply at a U.S. consulate in Toronto. But before you jump on this, you need to understand a few critical details.
You must be physically present in that country to attend the interview. No exceptions.
The consular officer will judge your application based on your ties to your country of residence, not the one where you're interviewing.
This can sometimes be a disadvantage. An officer in a third country might be less familiar with your home country's economic or social norms, which could make it harder to prove your "strong ties."
Before booking anything, go directly to the website of the specific U.S. embassy or consulate you're considering to see their official policy on TCN applications.
How Many Times Can I Reschedule My Visa Appointment?
Be careful with this one. The system limits how many times you can reschedule, and it usually isn't very forgiving. Typically, you get three or five chances after you book your very first appointment.
If you go over that limit, your MRV fee payment gets locked, and you’ll have to pay the entire visa fee all over again to book a new appointment.
Because your rescheduling attempts are so precious, you should only change your date if you are absolutely certain the new one works. This is where a notification tool really helps—it finds you a great date from the get-go, so you don't waste your limited chances on appointments that aren't a good fit.
What if I Made a Mistake on My Submitted DS-160 Form?
That moment your heart drops when you spot a typo on your submitted DS-160 is something many applicants experience. The good news is, it’s usually fixable. What you need to do depends on how serious the mistake is.
For something minor, like a misspelled street name, you can often just point it out to the consular officer during the interview. They’re human, they get it.
However, for major errors—anything involving your name, date of birth, passport number, or your answers to the security questions—you must fill out a brand new DS-160 form.
Once you submit the new form, you'll get a new confirmation number. The crucial next step is to log back into the appointment portal and update your profile with this new number before your interview day. The barcode on the confirmation page you bring to the consulate has to match the number attached to your appointment in their system.
Stop wasting hours manually refreshing the calendar. Vast Fisa monitors the consulate portal for you 24/7 and sends instant alerts when an earlier appointment opens up, giving you the best chance to secure the date you need. Find out more at https://www.vastfisa.com.